
How to Set Up your First PTC Advertisement
Run Your Own PTC Advertisement with AdBuxPro
Are you ready to promote your website and reach a targeted audience? Look no further than AdBuxPro, where we offer a variety of ad options to suit your needs. In this lesson we are going to talk about paid to click ads:
What is a PTC Ad?
Paid To Click (PTC) Ads
- Targeted Traffic: PTC ads provide highly targeted traffic to the "make money online free" category . Users actively engage with the specific area of your website that you want to promote.
- Unique Views: We offer unique views every 24 hours, ensuring that your ad receives genuine attention. No bots here!
- GEO Targeting: Advertise to the entire site, or to specific countries!
Our platform offers unique views every 24 hours, ensuring focused traffic to the site of your choice. We achieve this by maintaining a bot-free environment and allowing only one account per household. Our rigorous monitoring includes scanning for proxies and VPNs, and our robust KYC process sets us apart from other PTC sites! We do all of this to ensure the best quality possible from the website traffic we deliver.
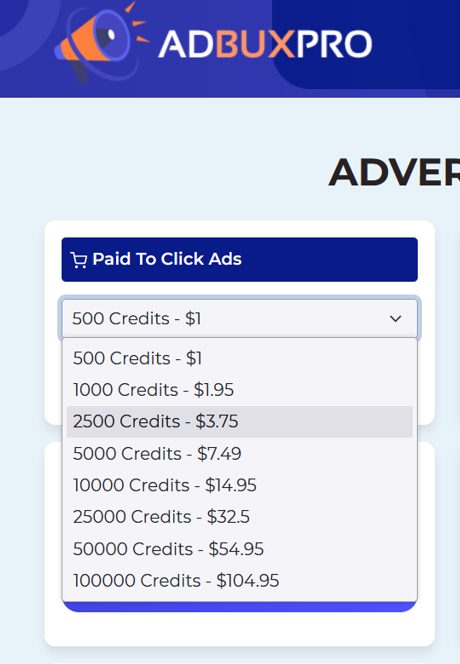
Now before you set up your first advertisement, you need to purchase advertising credits. This can be done from our Advertise page as you can see below:
Go to the Adertise section of AdBuxPro

Next choose the ad type you want and then amount of credits that you wish to buy. For this example we are purchasing PTC credits:
Now that you are equiped with ad credits, it is time to create your first ad.
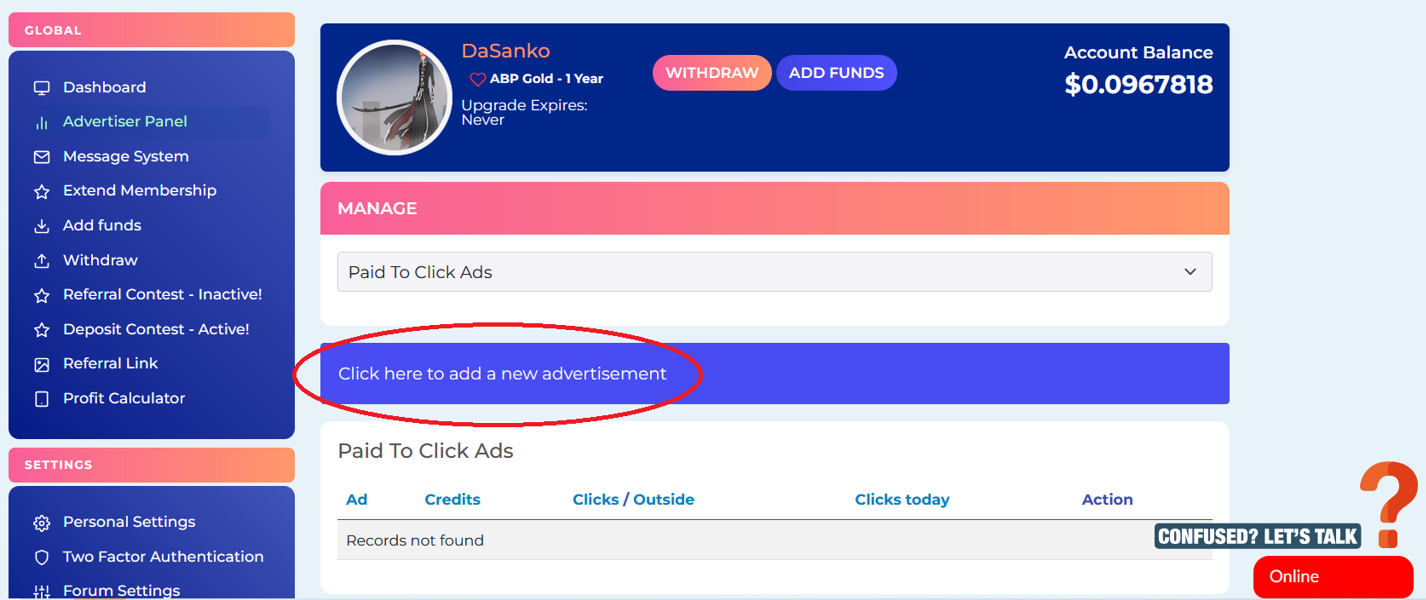
Go to your profile name, left click and choose Advertiser Panel as you can see below:

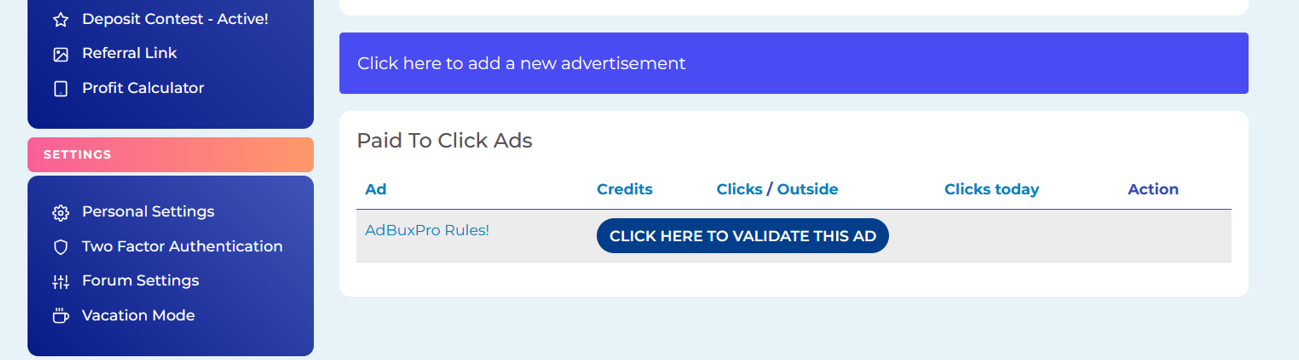
From the drop down menu under Manage choose Paid To Click Ads:

Then click "Click here to add a new advertisement" to open the new advertisement set-up menu:
Then you fill out the details.
-
Fill Out the Details:
- Title and Subtitle: Craft an attention-grabbing title and a concise subtitle.
- Target URL: Specify the website you wish to advertise.
- Image URL (Optional): If desired, include an image URL.
- Under Iframe or Without Iframe: Choose whether the site opens within AdBuxPro (Under Iframe) or in a new window (Without Iframe). We verify compatibility for you.
- Maximum Clicks Per Day: Set the total number of daily views for your ad.
- Premium Members Only?: Decide if your ad should be available exclusively to upgraded members.
- Ad Value: Determine the value of your ad, or the time members must view the advertisement.
- Target Countries: Select either all coutries or each country you want to target.

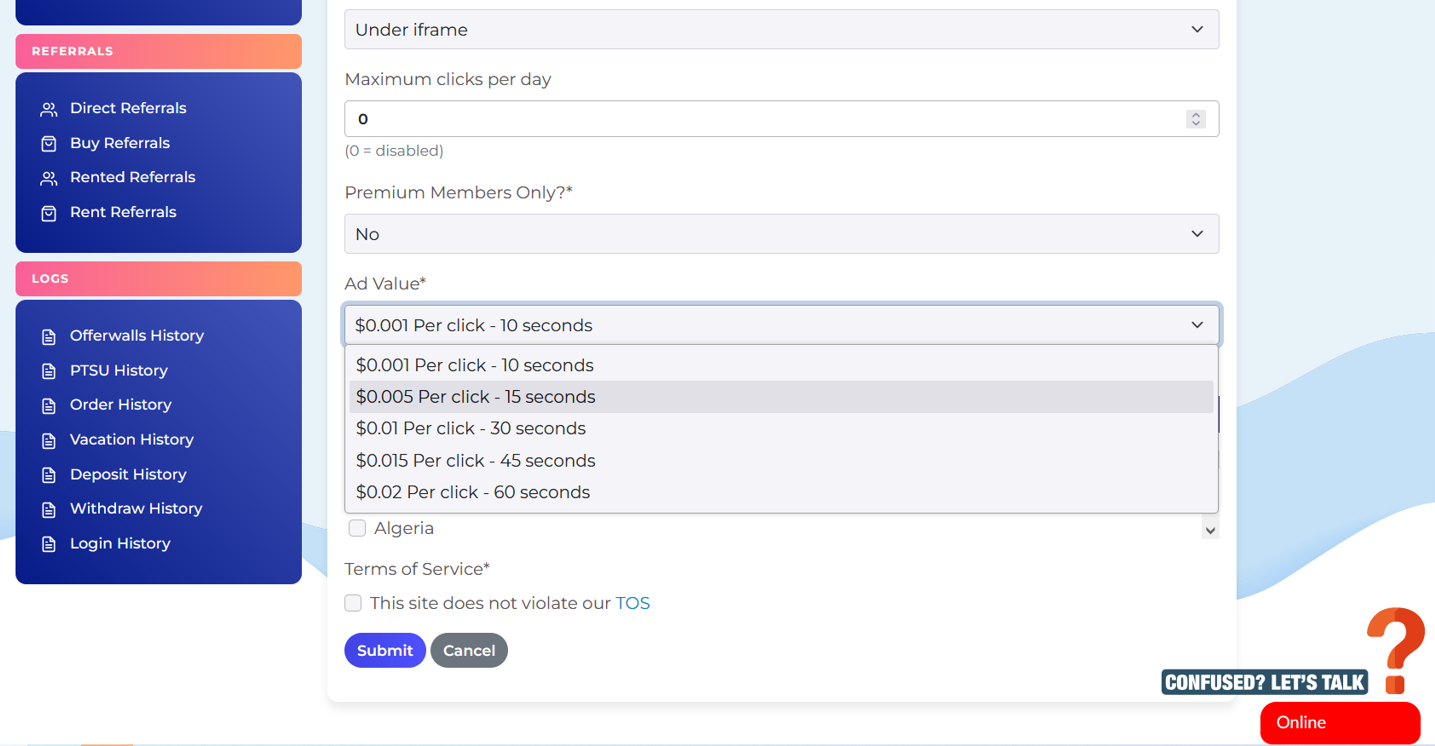
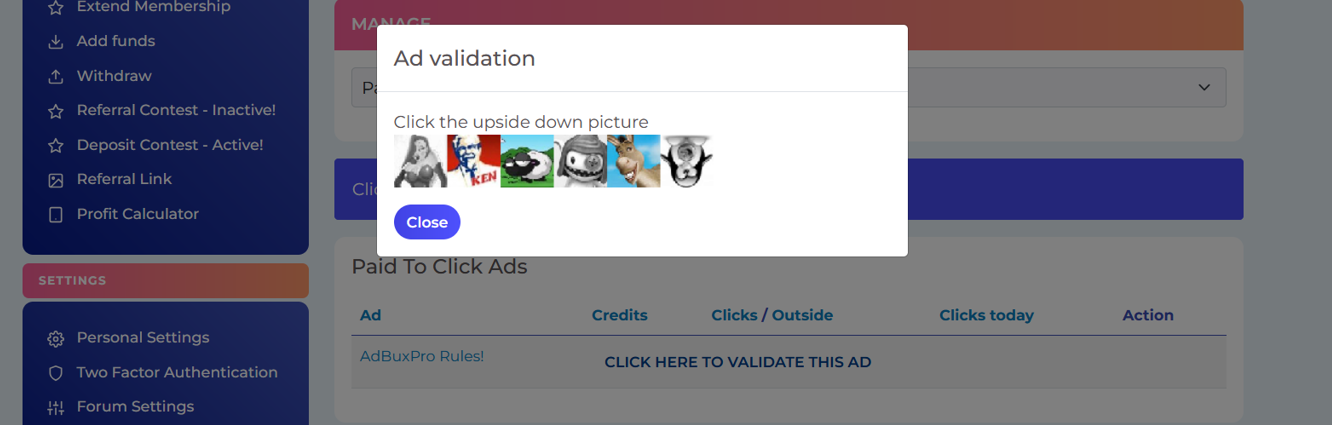
Now you submit your ad and you do your first test of it yourself. You must click to validate the ad for it to be sent to us for approval.
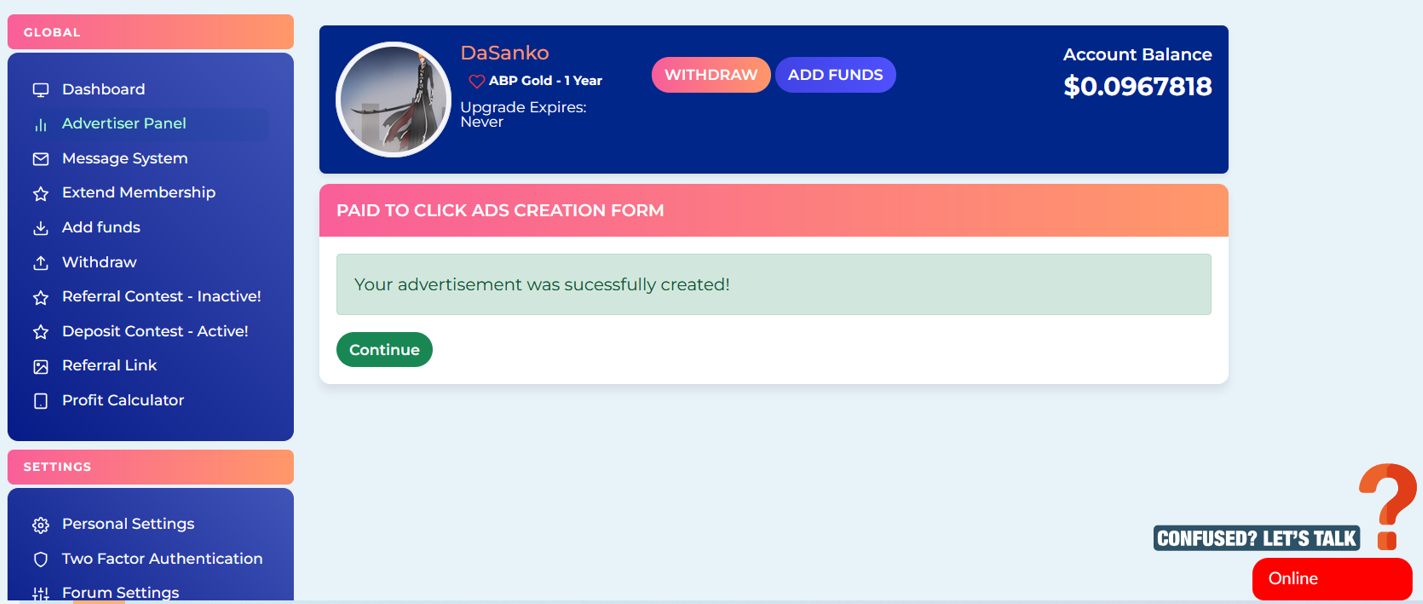
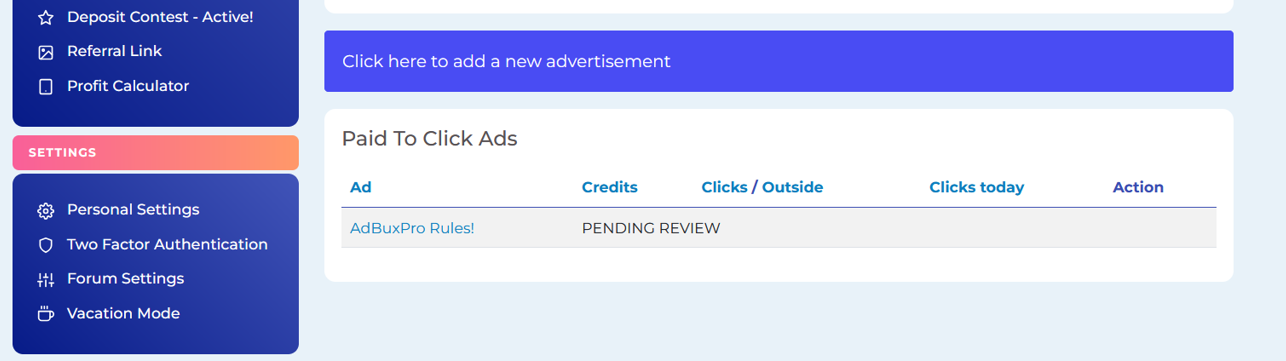
When you have done this, then we will get a notification and we will either approve or delete your ad. If we delete it, we will notify you about why that happened.
You then go to your Advertiser Panel and check to see if your ad has been set Active. You can also see the amount of traffic that you have been getting.
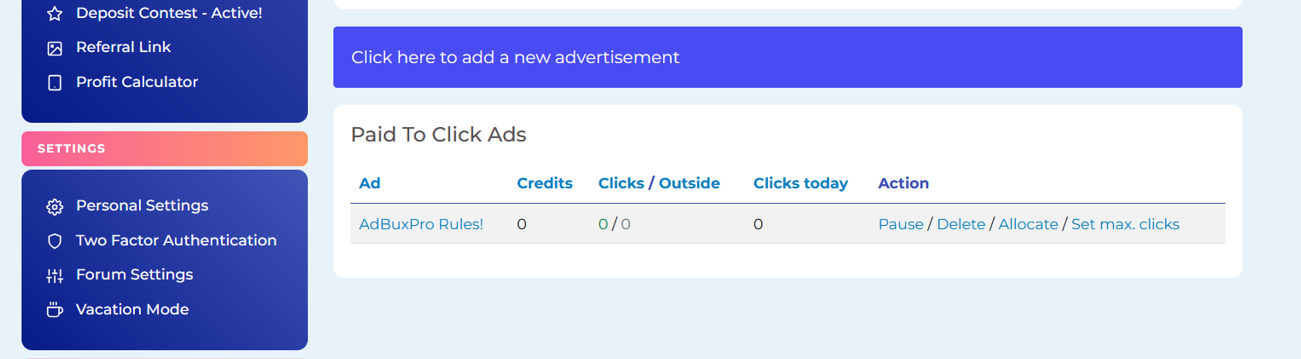
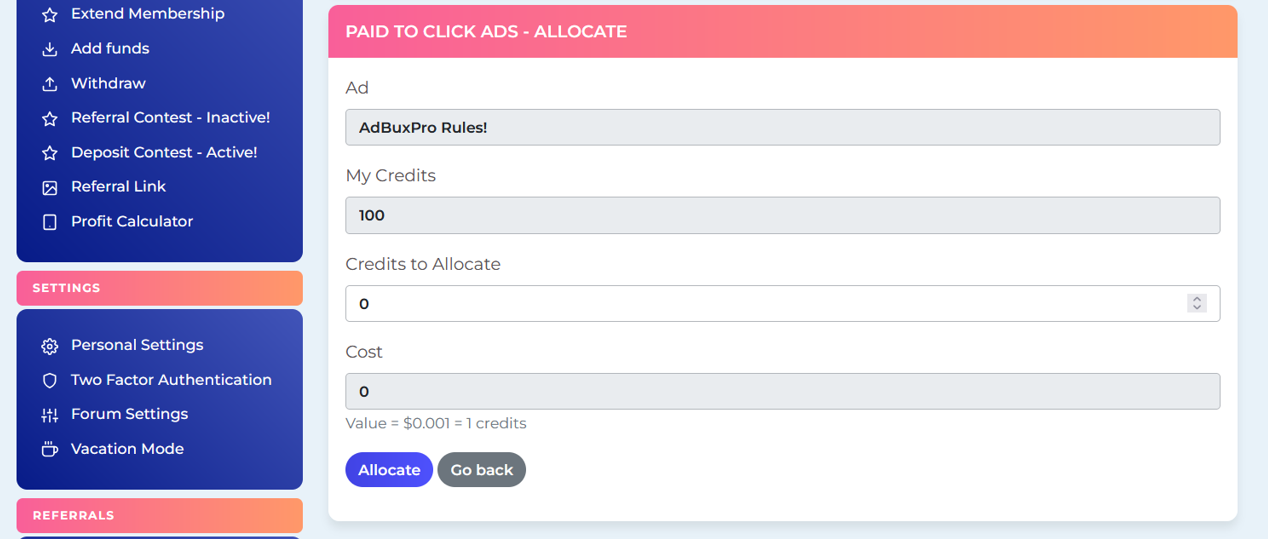
Once this has been done, then you allocate credits to it and you are done, you ad is now active and awaiting viewers.
Now there is nothing stopping you from getting the best exposure that you could possibly get. Just get advertising with AdBuxPro!
Share
Comments (1)
owenanigboro User
29.12.2024, 14:00
Please how do I delete my PTSU advert?
Leave A Comment
Subscribe to AdBuxPro Blog's newsletter to receive the latest news and exclusive offers.

How to Paid To Sign Up - PTSU
16.06.2024, 04:57
Comments: 0

How to do Offer Walls
16.06.2024, 05:50
Comments: 0

How to Membership
01.07.2024, 04:32
Comments: 0

What is a Paid to Click Site?
19.03.2024, 06:04
Comments: 2
We have created our first blog yay!
owenanigboro
on How to Set Up your First PTC Advertisement
29.12.2024, 14:00
kim21
on What is a Paid to Click Site?
13.06.2024, 02:32
Goathorse
on What is a Paid to Click Site?
28.05.2024, 16:55